
Guide to Filling Driveway Cracks: Step-by-Step Instructions
A cracked driveway is more than just an eyesore; it’s a sign of developing structural issues. Whether you have an asphalt driveway (also known as blacktop) or a concrete driveway, unattended cracks can allow water to penetrate the foundation, leading to expensive and extensive repairs down the line. Proactive maintenance is key. By learning how to properly fill cracks using the right materials and tools, you can significantly extend the lifespan of your driveway, improve its curb appeal, and protect your investment. This guide provides comprehensive, step-by-step support for both blacktop and concrete driveway repairs, ensuring you have the knowledge to tackle the job effectively.
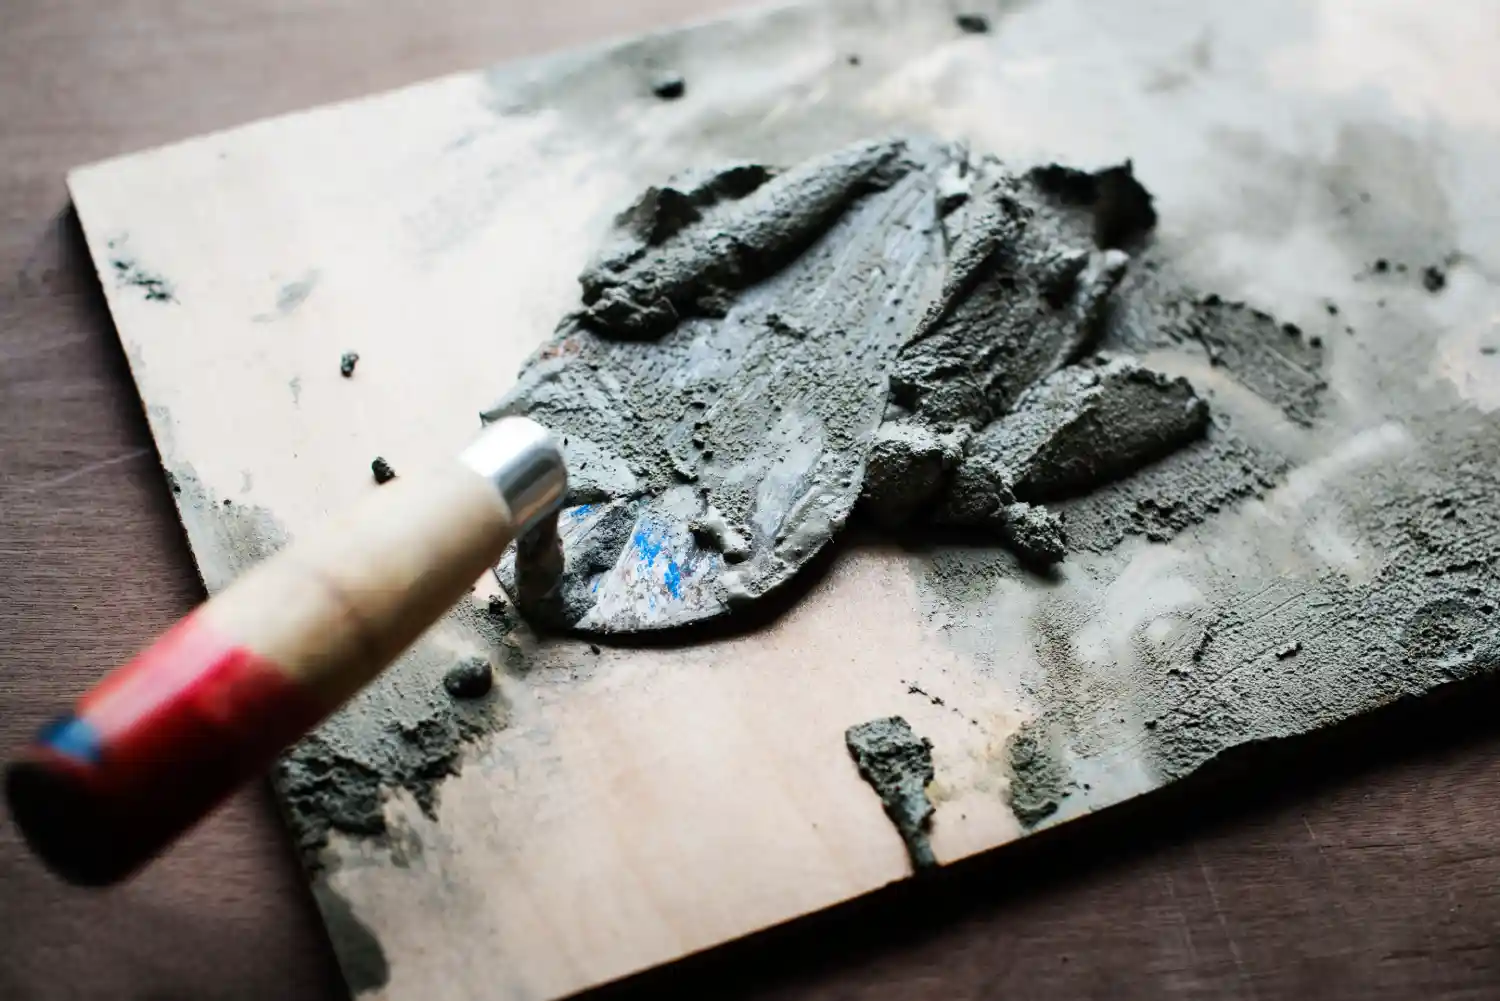
cracks are filled completely, creating a smooth surface ready for sealing.
For expert results,
consider exploring professional driveway
repair services to ensure your investment is fully protected.
Identifying Driveway Cracks
A thorough inspection is the first critical step in driveway maintenance. At least twice a year, in the spring and
fall, take the time to walk your entire driveway and examine it closely. Look for
different types of damage, from obvious potholes to subtle hairline cracks. The width and depth of
a crack will determine the best method for repair. For instance, very narrow hairline cracks might
only need a liquid crack filler, while cracks wider than a quarter-inch may
require a more robust patching material. Also, pay attention to “alligator cracking”—a web of
interconnected cracks that often signals a problem with the driveway’s foundation. While you inspect, look for any
oil or chemical stains on the surface, as these will need to be cleaned before you can begin any
repairs. Don’t forget to check for weeds or grass growing through the cracks, as they must be
completely removed, roots and all.
Preparing the Area for Repair
Proper preparation is non-negotiable for a lasting repair; any filler you apply
will only be as strong as the bond it forms with the existing surface. Start by removing all loose
debris from the cracks and the surrounding area. Use a stiff wire brush or a
specialized crack-weeding tool to aggressively scrape out any vegetation, packed-in dirt, and old,
failed filler. For a deeper clean, a compressed air gun is excellent for blowing out fine
dust and smaller particles from deep within the cracks. Alternatively, a pressure
washer or a strong jet from a garden hose can effectively flush out all the
dirt. If you use water, you must allow the driveway to dry completely before
proceeding, as moisture will prevent the new filler from adhering properly. For concrete
cracks with crumbling edges, use a chisel and hammer to gently chip away any loose material until you
have solid, stable edges to work with.
Filling Driveway Cracks with Crack Filler
With a clean and dry surface, you’re ready to fill cracks. The material you choose is critical. For
asphalt driveways, select a high-quality asphalt driveway crack filler. For
concrete, use a specific concrete patching compound or sealant. Application is typically done with
a caulking gun for smaller cracks, which allows for precise control, or directly from a squeeze
bottle. When applying the filler, push the bead of material deep into the
crack. For deeper or larger cracks, it’s best to apply the filler
in layers. Apply one layer, allow it to set according to the manufacturer’s specified
drying time, and then apply the next. This prevents shrinking and ensures a solid
repair. Avoid overfilling the crack. The goal is to have the filler sit flush with the driveway
surface. Use a putty knife or small trowel to
smooth the filler and scrape away any excess for a clean, professional finish.
After the repair is complete, applying a sealant is a critical final step. To learn more about the best methods and
products, check out our detailed guide on sealing concrete driveway tips, techniques, and top products.
Repairing Concrete Cracks
Repairing concrete cracks follows a similar principle to asphalt but with different materials. Use a
high-quality concrete patching material designed for driveways. After cleaning the crack
thoroughly, apply the compound using a putty knife or trowel, pressing it firmly
into the void. It is often beneficial to slightly dampen the concrete cracks before applying the
patch, as this can help the new material bond with the old concrete without drying out too quickly.
Smooth the surface of the patch so it is level with the surrounding driveway. For
smaller cracks, a flexible concrete caulk or sealant can be a great option, as it allows for minor expansion and
contraction with temperature changes. Once the patch has fully cured, it is highly recommended to apply a concrete
sealer over the repaired area to protect it from moisture and future damage,
ensuring a long-lasting fix.
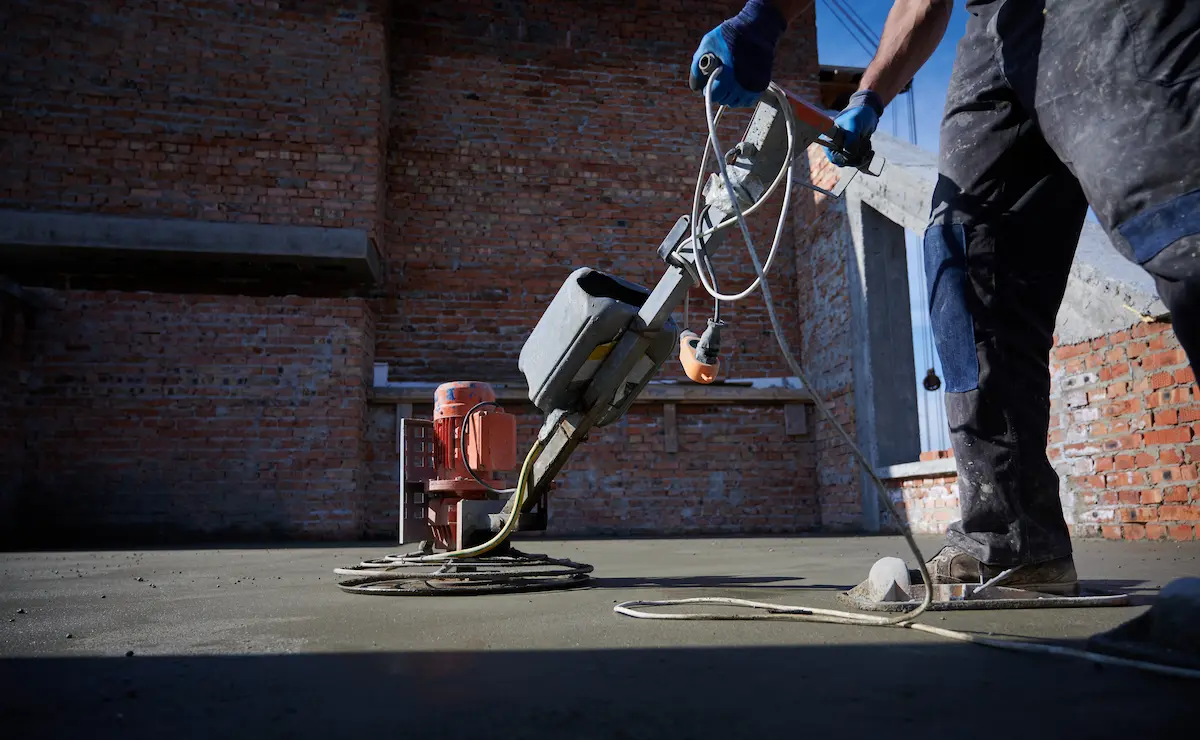
driveway and prevent costly future repairs.
Repairing Larger Cracks
When it comes to repairing larger cracks in your asphalt driveway, a more thorough
approach is essential to ensure a long-lasting fix. Cracks wider than 1/2 inch can
allow water, dirt, and weeds to penetrate deep into the surface,
leading to further damage if not addressed properly. Start by using a stiff wire brush to scrub out
all the dirt, debris, and any weeds from the
crack. Follow up with a compressed air gun to blow out any remaining particles,
ensuring the crack is completely clean and ready for repair.
Once the area is free of debris, apply a thick coat of asphalt driveway
crack filler, making sure to push the material deep into the crack.
Use a putty knife to smooth the surface and remove any excess
filler, creating a seamless finish with the rest of your driveway. For especially
deep or wide cracks, it may be necessary to fill in layers, allowing each
layer to dry before adding the next. After the crack is filled and smoothed, use a
pressure washer or garden hose to rinse away any leftover dirt or
filler from the driveway surface. This process not only repairs
the crack but also helps protect your asphalt driveway from
future issues by sealing out moisture and debris.
If you encounter extensive damage or feel the job is beyond a simple DIY fix, don’t hesitate to seek professional
advice. You can contact us for a consultation to
discuss the best solutions for your driveway.
Asphalt Driveway Crack Repair
Repairing cracks in an asphalt driveway is a straightforward project when you have
the right tools and materials on hand. Begin by cleaning the
crack thoroughly with a wire brush to loosen any dirt or
debris, then use a compressed air gun to blow out the particles and ensure a clean
surface. For best results, select a high-quality asphalt driveway crack filler and
load it into a caulking gun for precise application.
For cracks wider than 1/4 inch, apply a thick coat of crack
filler, using a putty knife to press the material firmly into the
crack and smooth the surface. Allow the filler
to dry according to the manufacturer’s instructions before applying a second coat if needed. Once
the crack is filled and the surface is smooth, sweep the area
with a broom to remove any excess material. Finish the repair by applying a
protective layer of sealer over the entire driveway, which helps
shield the asphalt from rain, freezing temperatures, and further cracking.
Remember, regular inspection and prompt repair of driveway crack will keep your
asphalt driveway looking great and extend its lifespan.
Sealing the Driveway to Prevent Future Damage
After all repairs have been made and have fully cured, the final and most crucial step is to seal
the entire driveway. Sealing provides a protective barrier against water, UV rays, oil, and other
chemicals that can degrade the asphalt or concrete over time. Before sealing, the entire driveway
must be impeccably clean. Use a pressure washer and a degreaser if necessary to remove any stains
or grime. Apply the sealant on a warm, dry day with no rain in the forecast. Use a squeegee to
apply a thin, even coat, working in sections and using long, smooth strokes to
pull the sealant across the surface. Applying a thick coat is a
common mistake that can lead to a slick surface and improper drying. It’s better to apply two thin coats, allowing
for the recommended drying time between them, than one thick one. A properly sealed driveway not
only looks better but is also much easier to clean and significantly more resistant to future cracking.
Preventing Driveway Crack Formation
Preventing cracks from forming in the first place is the most effective long-term strategy. This
involves a routine of proactive maintenance. Keep your driveway clean by regularly sweeping away
leaves, dirt, and other debris that can trap moisture against the
surface. Address any spills, like oil or gasoline, immediately before they can penetrate and soften
the material. It’s also wise to avoid driving heavy vehicles near the unsupported edges of your driveway, where it
is most vulnerable to cracking. Most importantly, stick to a regular sealing schedule—typically every 2-3 years for
asphalt. This regular application of a protective sealer is the best defense against the elements
and will dramatically extend the life of your driveway.
Final Tips for a Successful Repair
To achieve the best results when repairing your driveway, keep these final tips in mind. Always
choose high-quality materials, such as a reliable asphalt driveway crack filler
and a durable sealer, to ensure your repairs last. Carefully follow the manufacturer’s instructions
for application and drying times—rushing the process can compromise the bond between the filler and
the asphalt. Use the right tools for the job, including a wire
brush, putty knife, and compressed air gun, to
create a smooth, even finish.
Plan your repair project around the weather; avoid working in the rain or during
freezing temperatures, as moisture and cold can prevent the filler from setting properly. Be
patient and allow each coat to dry completely before applying additional layers or sealing the
driveway. Finally, protect your investment by sealing the
driveway regularly and addressing any new potholes, stains, or
cracks as soon as they appear. With the right approach and ongoing maintenance, you’ll keep your
asphalt driveway in top condition for years to come.

Have questions?
Get in touch — we are happy to help and answer any question.
Keep reading
Related posts
 Concrete Driveway
Sealing Concrete Driveway: Tips, Techniques, and Top Products
Learn how to seal your concrete driveway effectively for lasting protection and durability. Read our comprehensive guide for practical tips and techniques! |
Read more Guides
Parging: Why It Cracks and Falls Off — and How to Fix It for Good
Parging protects the exposed top of your foundation, but freeze-thaw cycles make cheap coats crack and fall off. Here is why it fails, when to repair…
Read more Guides
Basement Waterproofing Cost Guide for Toronto & the GTA
What really drives basement waterproofing cost in Toronto and the GTA: interior vs exterior systems, wall length, access, drainage and crack injection, plus how to compare…
Read more